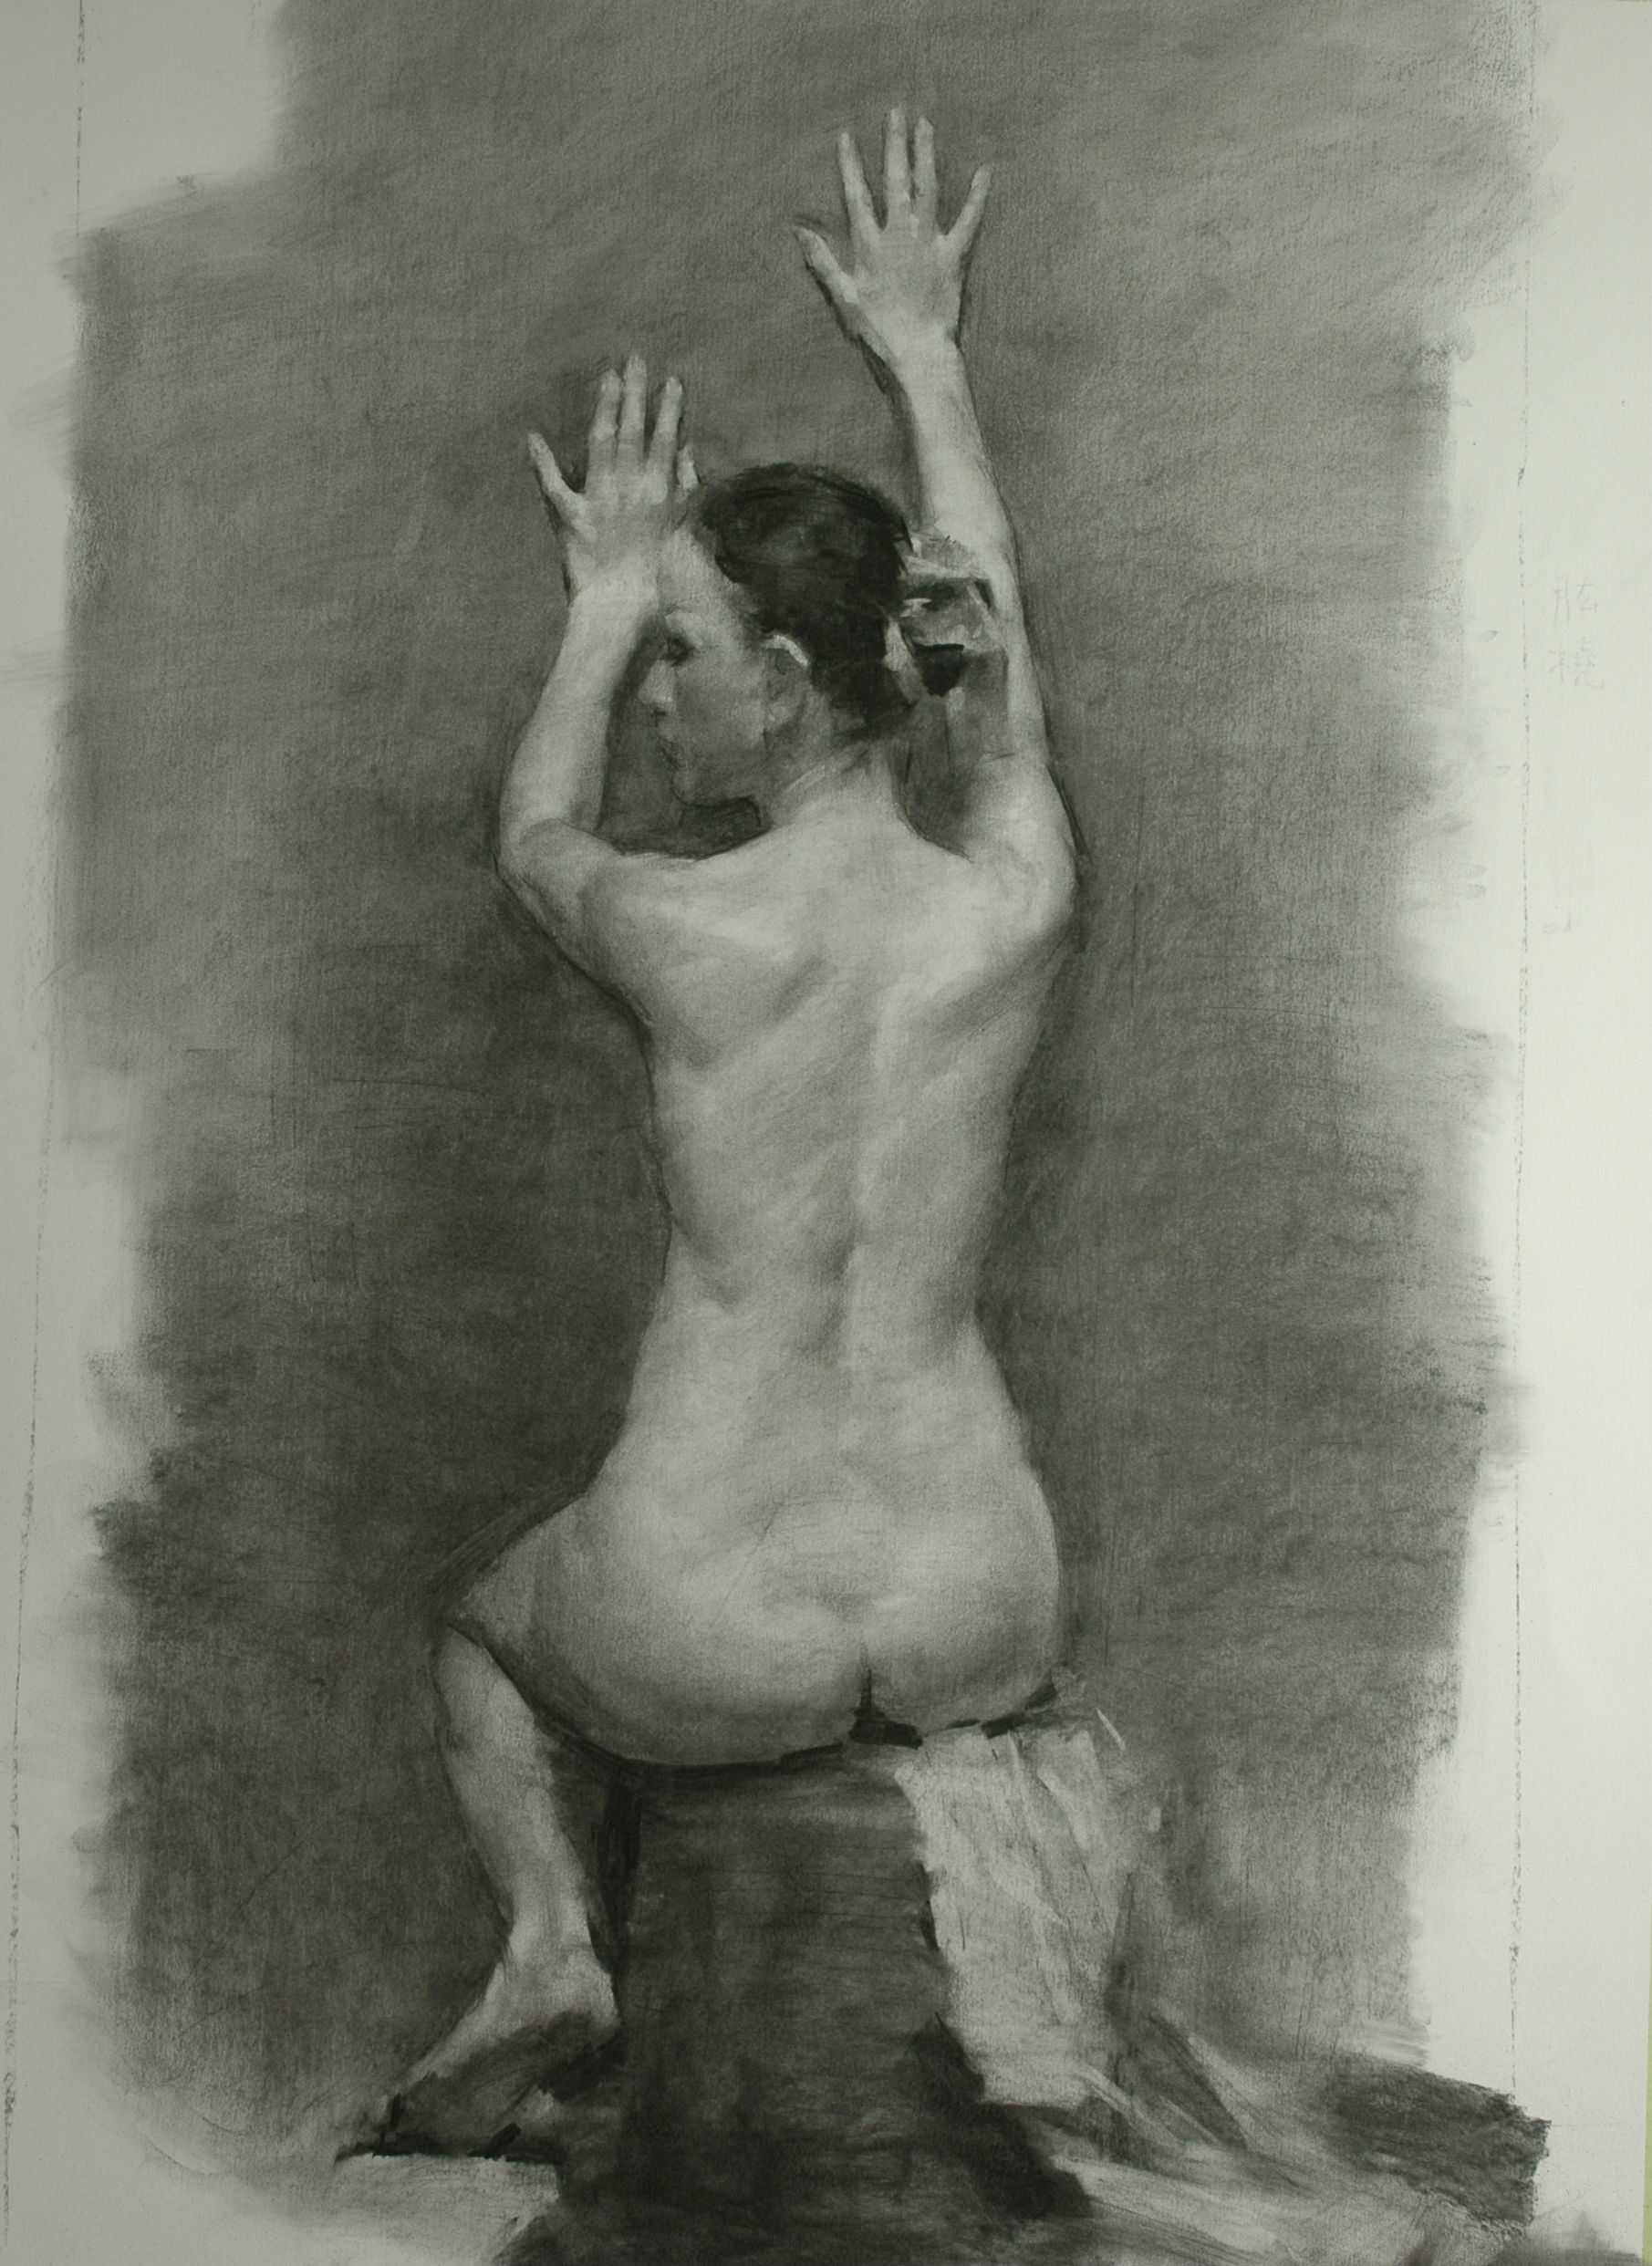
The figure drawing is no doubt the most advanced genre of drawing.
The human body is artwork by God. Regardless of its appearance – rotund or bony – the different shapes of each part of the body together create a magnificent unity. The beauty of life is displayed in the diverse contours of the surface and the solid structures of bones and muscles underneath. This unspeakable beauty draws us in to explore the secrets of figure drawing.
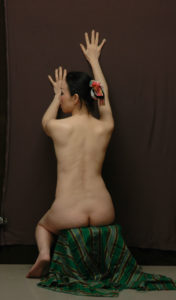
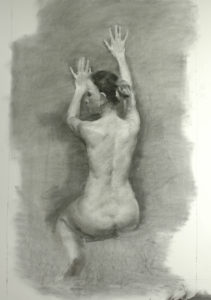
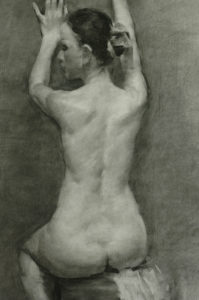
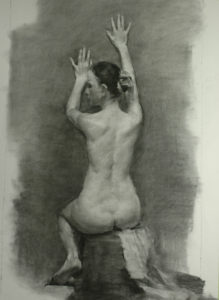
An interesting note about this sitter’s pose: It is quite unique and modern. I had not planned for her to pose in this position. It was the result of an unintentional gesture of her reaching forward. This was somewhat challenging for me to draw because I usually prefer to draw figures in more classical postures. Yet what choice did I have? The camera crew was in place, and the sitter was ready (this drawing was done for a TV program on drawing). I had to improvise the position of the sitter. So I went with the flow. As I look at the finished image before me, I think it was not a bad decision after all.
Block in
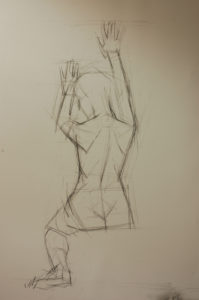
Start the drawing by marking the highest and lowest positions: the tip of her right-hand fingers and the bottom of her left foot. Then find the ratio between the different sections. The ratio between shoulder joint to fingers and from the fingers to the bottom of the hip is 1:1. The length between the bottom of the hip to the bottom of the foot is about 1/2 length of the fingers to the hip. The next step is to draw the general shape of the torso. The waist is positioned in the middle point. So far I have purposely delayed drawing the head because only when the torso is situated properly will the neck, head, arms and legs fall into the right places.
Next, I drew the directional flow of the spine. Find the ribs and the hips, and draw a horizontal reference line of the hips in order to define the movement of the waist. Then find the scapula and the hump of the shoulder. To avoid making the mistake of misjudging the perspective of the left arm and left leg, it is important to examine closely. This is my tip: Try to think of the limbs as a cylinder extending forward. If you practice seeing the human body as a combination of different geometrical shapes at different angles and perspective, you will be able to draw more accurately. You may also consider studying a book on human anatomy to further understand the bones and muscles.
Add value
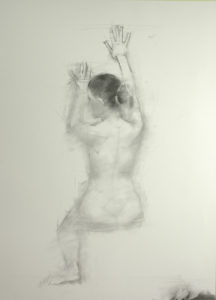
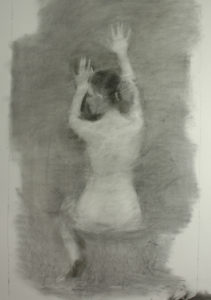
After the block-in, I first added dark value to the hair and then the middle value and dark value areas of the body. Then I used a piece of tissue paper to soften everything to create a light, embossed effect on the image.
Don’t be afraid that the lines which were sketched in the block-in stage are gone. Since you’re the one who created them, you will always find them. Keep in mind that the block-in lines are not the final edge lines. Softening the lines is a transition necessary for the next step, creating details.
Backdrop
I hatched the background in one breath as I quickly rub it with a tissue paper. When I stepped back to examine the overall image I realized all the borderlines had been rubbed away. But there’s nothing to worry about because I can find the lines again.
Keep in mind that the block-in lines are only reference lines. The process of drawing the block-in lines helps one observe and understand the body. Yet the block-in lines should not be a hindrance to the next steps in refining the drawing. If one understands the role of the block-in lines, then one will feel more comfortable ignoring the block-in lines and can turn attention to a more important task: defining the value relationship of the backdrop, body and hair.
Add details
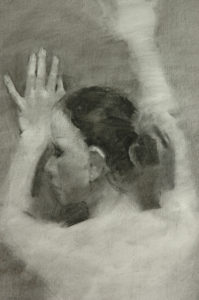
Now we can come back and start to create details. Where do I begin? I start with the hair and head because this area is the darkest in the entire image and also the center of attention.
During this stage, I finished 70%-80% of the drawing of the head because it has the darkest value and can be used as a reference point for the rest of the drawing. Additionally, charcoal powder does not stay on the paper very well. It’s inappropriate to apply too many layers to an area. So I didn’t plan to go back and forth to work on the head multiple times.
Please note that when I drew the head, face and hair, I also worked on the backdrop surrounding these areas so that the image is integrated into the space. The same principle should be applied to the rest of the drawing.
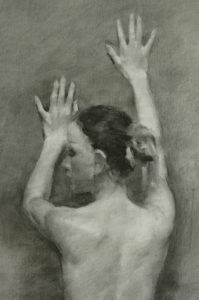
I then drew the arms, hands, followed by the torso and hips. Pay attention to the surface areas where the curvature of the bone can be seen, as well as the main formations of the muscles.
I have mentioned that every bone and muscle in the human body has a particular geometrical shape. It is very important to familiarize oneself with these shapes. Again, a textbook on human anatomy for art students may come in handy and can be used as a reference when you work on a figure drawing.
It is quite difficult to draw the perspective of the upper arms since they are reaching forward, especially where the deltoid meets the biceps, and triceps. They show a shrunken perspective. In order to correctly present this, observe carefully and draw precisely.
Also pay attention to the shape and proportions of the elbow joints, wrist joints, and finger joints. These details should be rendered in a way that’s clear yet at the same time with value and strokes that are in harmony with the overall style of the drawing.
Now we’re almost done with the drawing. I reinforced some of the edges to make the body look a bit more solid and to create distance between the body and the backdrop.
I spent most of my time drawing the back during this session, due to two reasons. First, it is a rarely observed case that the sitter’s back is very smooth, with thin and flat muscles. Second, the light was coming from a low angle, making the changes in value extremely subtle. It took me quite a few rounds of ”struggle” to get things right.
From the artist’s viewpoint, the knee looks as if it is reaching forward. This makes it a rather unique perspective to draw. It also creates an interesting spatial relationship among the knee, the coxa, and the hip. When the knee is finished, draw the left leg and ankle. Observed from this angle, her leg is the area that appears the most solid and strong in the entire body. So it must be drawn with the utmost care.
Lastly, I drew the fabric on the chair and added some finishing touches to the backdrop. Now it’s finally time to call it a day.
A few more words on the importance of anatomy
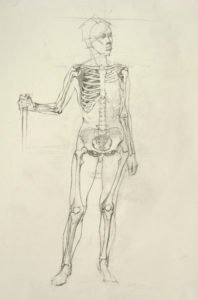
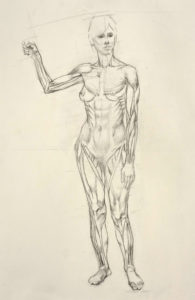
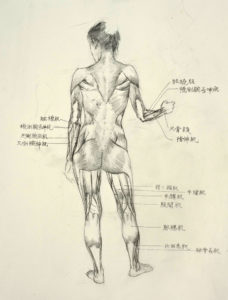
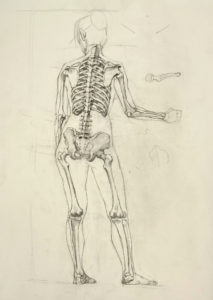
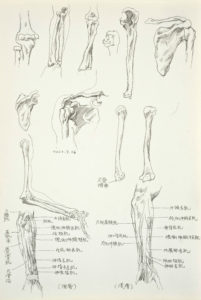
For further practice and improvement of figure drawing skills, I strongly suggest doing anatomy studies. Draw the skull. Draw the skeleton and major muscles. A good drawing starts with solid understanding of the structure of the subject. There are three concepts of structure:
- Geometric structure – for example basic shapes such as cubes, spheres, cylinders
- Internal structure – this usually refers to the skeleton and muscles underneath the skin
- Surface structure – the surface structure is defined by the contours of the skin as it appears to our eyes under certain lighting conditions.
A solid understanding of the internal structure (anatomy) will help you render convincing details to bring your figure drawing to life. Below please find a few examples of the anatomy studies I did over the years.
For information about drawing lessons, please click here.
For information about drawing books, please click here.

