Head Drawing (Charcoal Pencil) – A Step-by-Step Guide
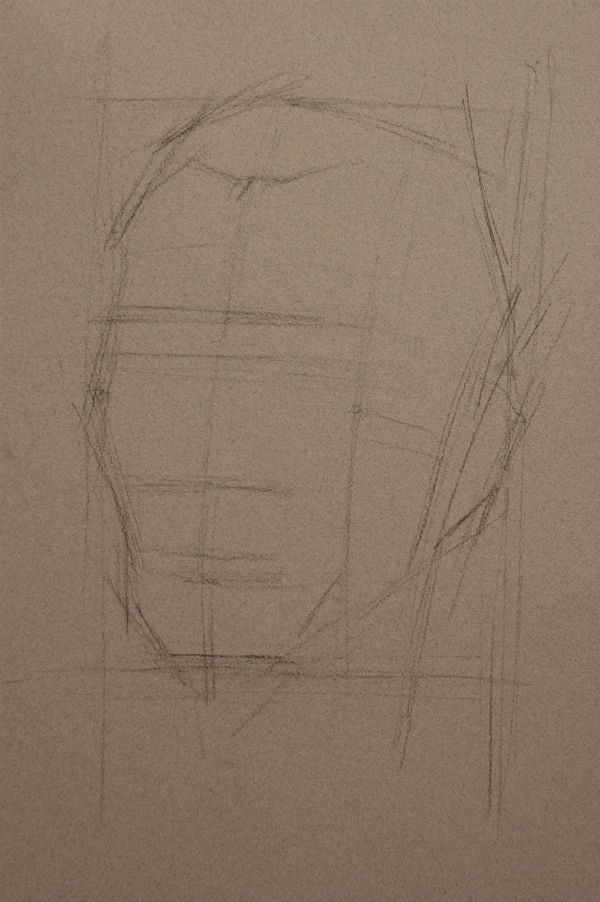
Block in
Facing the sitter, I first studied the ratio between the length and width of the head. Since I was seated on a short stool and the old man on a tall chair, from my perspective the width of the head is two-thirds the length of the head. This allows us to scope the head with a rectangle. Then I drew straight reference lines to define the shape and dimensions of the head, differentiating the side planes from the front. I drew a vertical line that marks the mid-point of the face, making sure the middle vertical line reflects the angle of the head’s pose. Then I drew horizontal lines to position the eyes, brows, nose, and mouth. The proportion of spacing in between these horizontal lines is as follows: the horizontal eye line falls halfway between the top of the head and the bottom of the chin; the ratio of the following lines: hair-line to eyebrow, eyebrow to nose, nose to chin, is usually 1:1:1. The positions of these horizontal line may vary depending on the position of the artist and the sitter and the resulting perspective.
Remember to use straight lines instead of contour lines during this stage and ignore details. The purpose of block-in is to establish proportion and perspective of the overall drawing, not details.
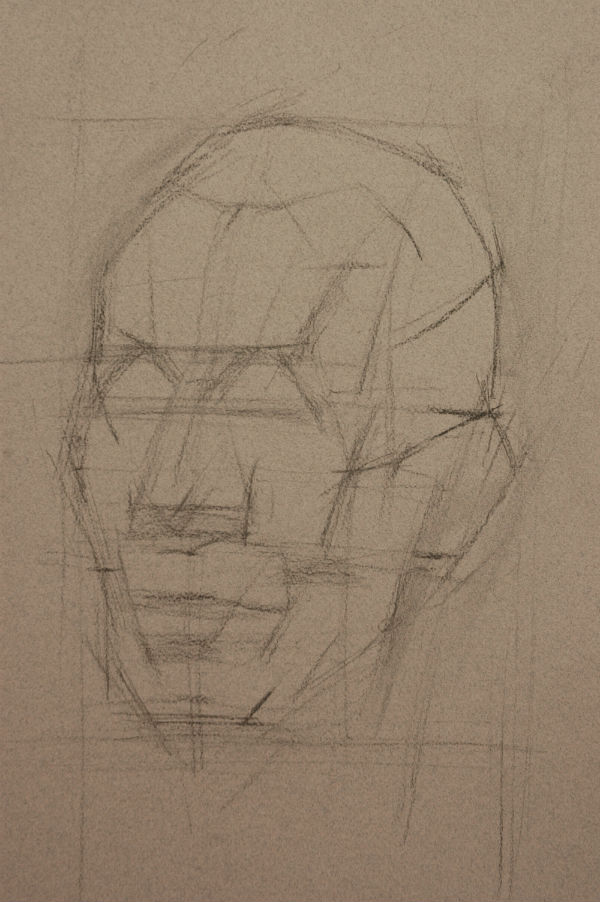
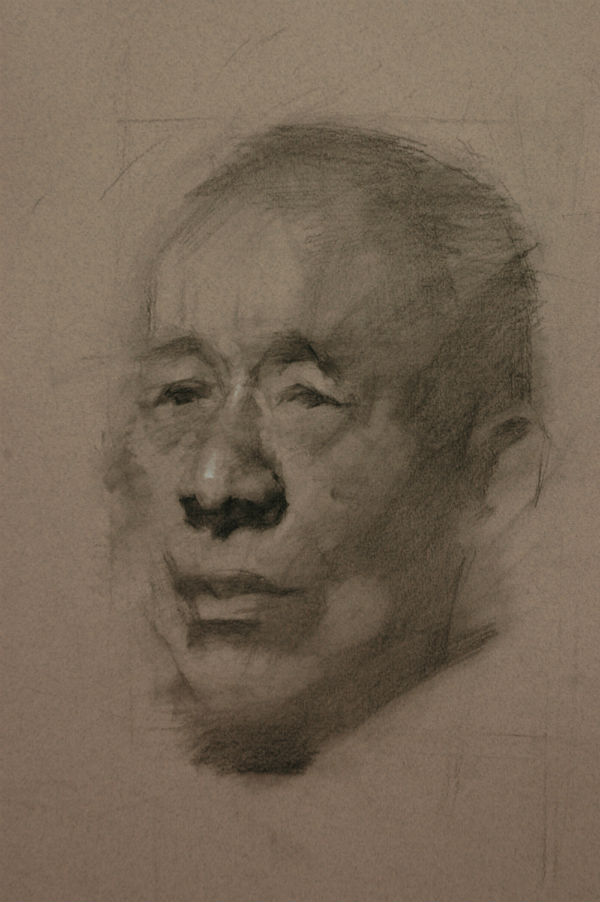
Continue to use straight reference lines to define large planes, such as the front, sides, and slopes of the forehead, as well as the front, side wall, and base of the nose. Mark the approximate shapes and positions of the brow arch, cheek bones, temporal bones, chin, and jaw. Now the block-in reflects the three dimensions of the head.
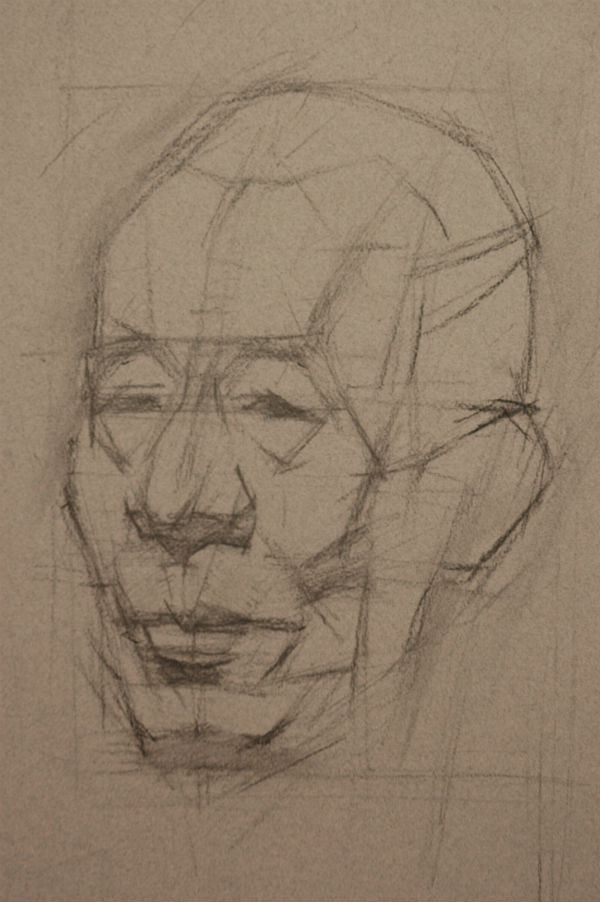
Further define the facial parts and the shadow under the nose, mouth, and jaw. Please note that structure means two things: geometric structure or basic shapes and anatomical structure, which includes bone and muscle structures. These structures affect the shape and contour of the surface. Although we’re depicting the surface, the surface is connected to the bone and muscle structure beneath it. Therefore, a solid understanding of both geometric and anatomical structures is essential for creating convincing dimensions and details.
Hatch the dark areas and the middle value areas to establish the light, middle, and dark value relationship in the drawing.
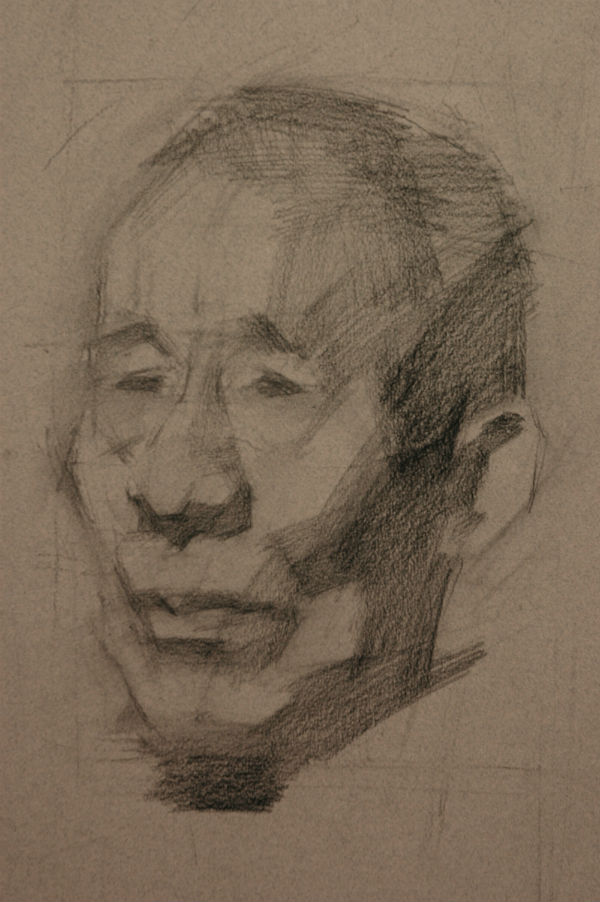
Continue to add value
This drawing is done using charcoal pencil on the back of a piece of pastel paper with light grey tone. I used a paper blender to create gradation of value and texture.
I also started creating details, starting from the nose. When drawing the nose, use accuracy and details because the other facial features rely on the nose as a reference point.
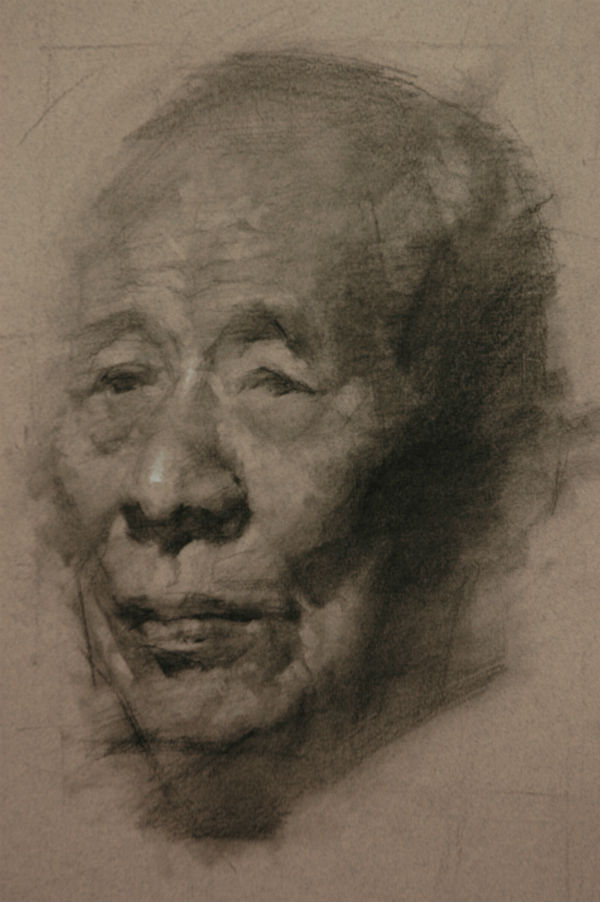
When it comes to details, they should be created faithfully yet selectively and aesthetically. Avoid making the drawing too smooth and detailed. Instead, strive to use a variation of hard and soft edges as well as diversified pencil strokes to make the drawing come to life and the process of drawing more enjoyable.
Spirit and mood can be captured in a few places, including the corners of the mouth, eyes, eyebrows, nostrils and nose. Avoid making the nostrils too dark and too defined. They should be inside the nose in the shadow.
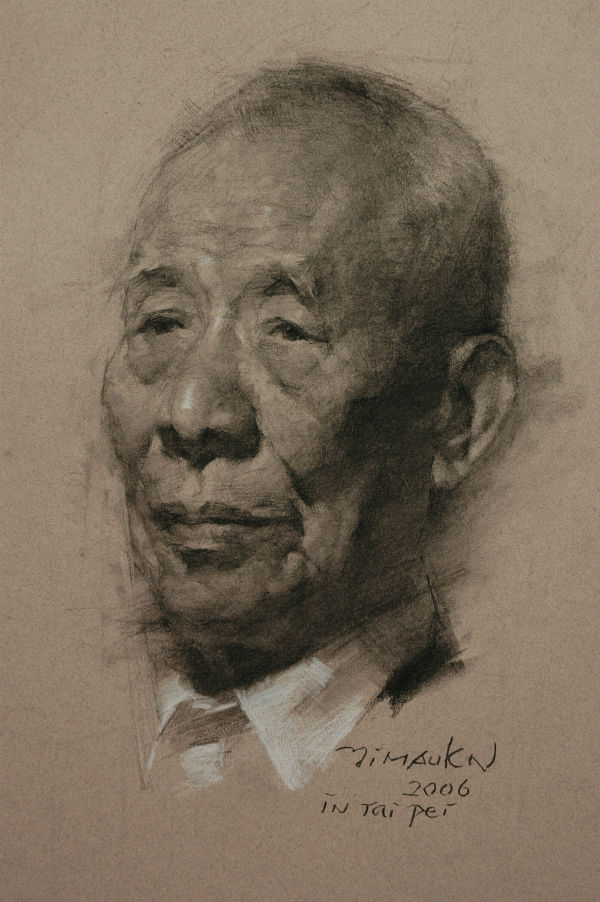
At this point, fine-tune the edges of the mouth and ears once again, adding hard edges if needed. Lastly, I drew the old man’s starched white collar with a white pencil. At this point, one should reexamine everything. Reexamine the shape of the head; is it faithful to the subject in likeness, in spirit? Reexamine the value of the drawing – the light, mid-tone and the dark. Each should be further divided into three more values. Reexamine the edge of the face. The edges of the face (composed of multiple lines) should convey a sense of volume which one continuous line will not do.
In this lesson, you will learn
Use straight lines to block in
Use planar analysis to create dimensions
Apply the concepts of geometric structure (basic shapes) and anatomical structure when constructing the head
Add value and value gradation
Create details selectively and aesthetically using a variety of tools and through addition and subtraction
Suggested exercise
Ask or hire a friend to sit for you for life drawing or join a local life drawing meet-up to practice.
We have included a few images of head drawing in the course materials for you to study if you wish. However, we strongly recommend that you practice life drawing.
Additionally if you have not done cast drawing before, we also recommend doing cast drawing as part of your practice. Life drawing of a human being can be challenging if you have not done it before or have had limited experience doing it. The clean and clear appearance of a plaster cast bust make it easier to study proportion, perspective, value and form.
